
LineageOS, the official fork of CyanogenMod, does not have an Xposed version available yet.
So after I upgraded from the last CyanogenMod 13 nightly (Android 6.0.1) to the latest LineageOS 14.1 (Android 7.1.x), MicroG wasn’t working anymore.
Fortunately there is still hope!
Here is how I proceeded to upgrade my OnePlus One (codename bacon):
Upgrading from CyanogenMod 13 to LineageOS 14.1
The upgrade process is quite simple:
- Download the Experimental and Nightly build for your device. For mine, it was available here.
- (optional) Download the zip corresponding to your platform to make your phone rootable in the extras section. Mine was arm.
- Verify that the md5sum, sha1sum and sha512sum of the downloaded files matches. If you’re on Windows, you can use the HashTab extension. Or if you’re on Linux or a Unix based operating system, you can use the commands md5sum <file>, sha1sum <file> and sha512sum <file>. If anything does not match, download your file again, because if the file is corrupt, the upgrade process will most probably fail.
- If you want, you can verify the signature of the files as well.
- Backup original system with your recovery (mine is MultiRom’s TWRP). Make sure you backup the system partition!
- Flash the experimental zip first.
- It can look like it’s stuck during the system partition detection, but it’s not! Just wait. On my phone the installation needed almost 10 minutes.
- If you could not wait and stopped during flash, you broke your system partition. You will have no other choice than to restore your system partition from your backup!
- Once done, reboot and wait that the Experimental ROM is fully loaded. It can take some time to boot… Be patient.
- Reboot into recovery
- Flash the nightly zip
- It can take some time as well… Be patient.
- (optional) Flash the root zip (available at https://download.lineageos.org/extras)
- Reboot your phone (can take time… Patience is the key…)
At this point, you should be able to boot into LineageOS 14.1. You may find that some apps are not working correctly. Try clearing the data for those apps.
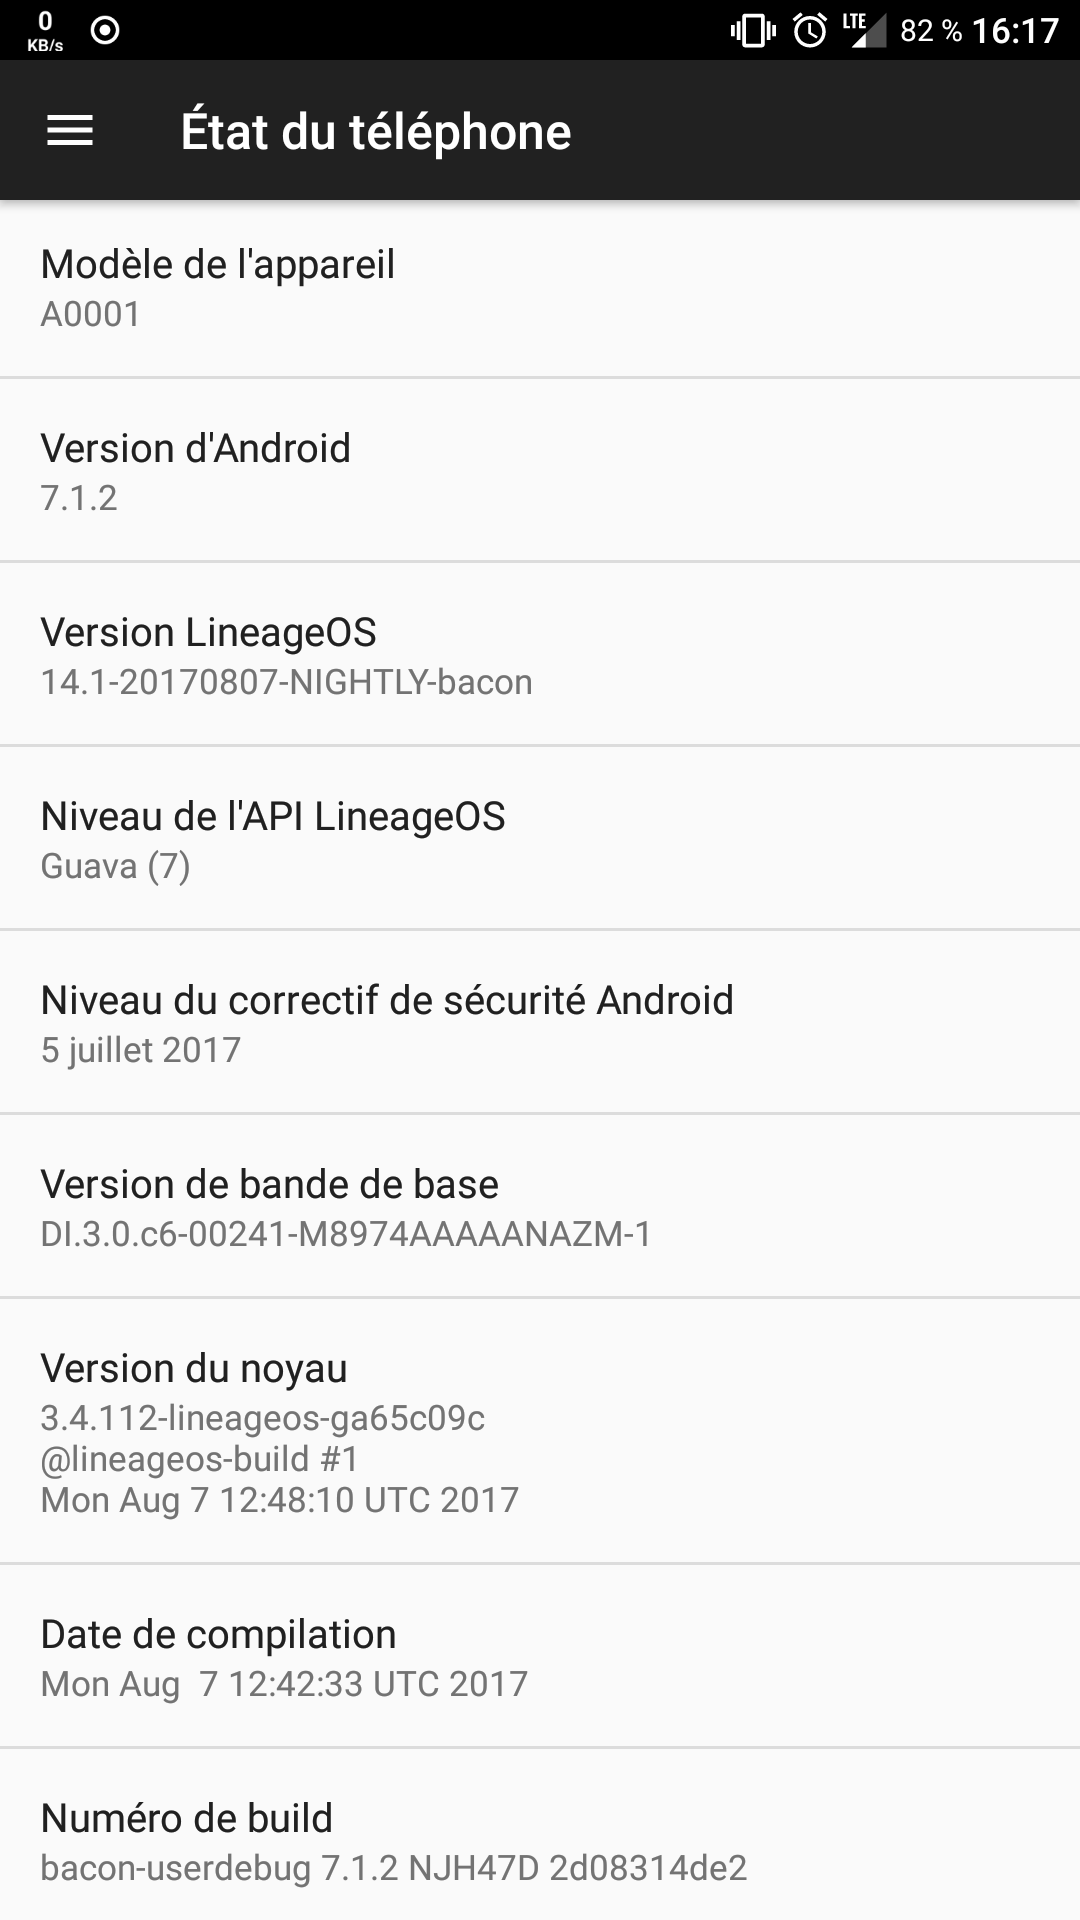
LineageOS 14.1 is installed!
You will also find that MicroG does not work anymore because the OS does not have Signature Spoofing!
Enabling signature spoofing on LineageOS (works with CyanogenMod 13 too)
There is no Xposed available for Android 7+. So I looked for a way to enable signature spoofing without Xposed. Fortunately there are some!
The first way is to install MicroG unofficial builds of LineageOS available at https://lineage.microg.org/. That’s the easiest way. If you want to pass SafetyNet, this is probably the only way, so go directly here.
The second way: If you still want to patch an official LineageOS build, proceed as follow:
I used Tingle from ale5000. You will need:
- ADB (for Windows; for MacOS; for Linux) available in your PATH environment variable
- Python 3
- Java
- Enabling USB debugging and ADB root in the device’s Developer Options
- Extracting the tingle-master directory from the master.zip somewhere
Then open a command prompt or terminal and type:
> adb pull /system/framework/framework.jar /path/to/tingle/input/
> adb pull /system/build.prop /path/to/tingle/input/
> python /path/to/tingle/main.py
You can try to choose “1” and it will attempt to patch your system automatically. However if it does not work, choose “2” (Patch file from the input folder).
If everything is okay, you should have an output like:
C:\platform-tools>python tingle-master\main.py
MENU

    1 - Patch file from a device (adb)
    2 - Patch file from the input folder

> 2

 *** OS: Windows 10 (win32)
 *** Python: 2.7.11 (32 bit)
 *** Mode: 2
 *** Working dir: c:\users\ghautc~1\appdata\local\temp\Tingle-aabopb
 *** Device SDK: 25
 *** Decompressing framework...
      DEBUG: Decompressing framework.jar
 *** Disassembling classes...
      DEBUG: Disassembling framework/classes.dex
 *** Patching...
 *** Detected: Android 8.x / 7.x / 6.x (or LOS/CM 13-15)
 *** Patching succeeded.
 *** Reassembling classes...
      DEBUG: Assembling out/classes.dex
 *** Recompressing framework...
      DEBUG: Compressing framework.jar
 *** Copying the patched file to the output folder...
 *** All done!

Your original file is present at C:\platform-tools\tingle-master\output\ManualMode\framework.jar.backup

If your device bootloop, please run this command on the pc when the connected device is inside recovery:
adb push "C:\platform-tools\tingle-master\output\ManualMode\framework.jar.backup" /system/framework/framework.jar
Then you need to push the patched framework.jar back into your system partition!
You will need your system partition to be mounted with read AND write permissions.
You can either type the following code, or reboot to recovery and mount the system partition with write permission. In my experience, it works better when you try to push the file from the recovery.
This is how to mount your system partition with read/write permissions (if success, no need to reboot to recovery, if fail, reboot to recovery):
> adb shell
$ su
# mount -o rw,remount,rw /system
# exit
$ exit
Or this is how to reboot to recovery and mount system partition with read/write permissions:
> adb reboot recovery
Then in TWRP, go to “Mount” and ensure that “System” is selected and that “Mount system partition read-only” is unchecked.
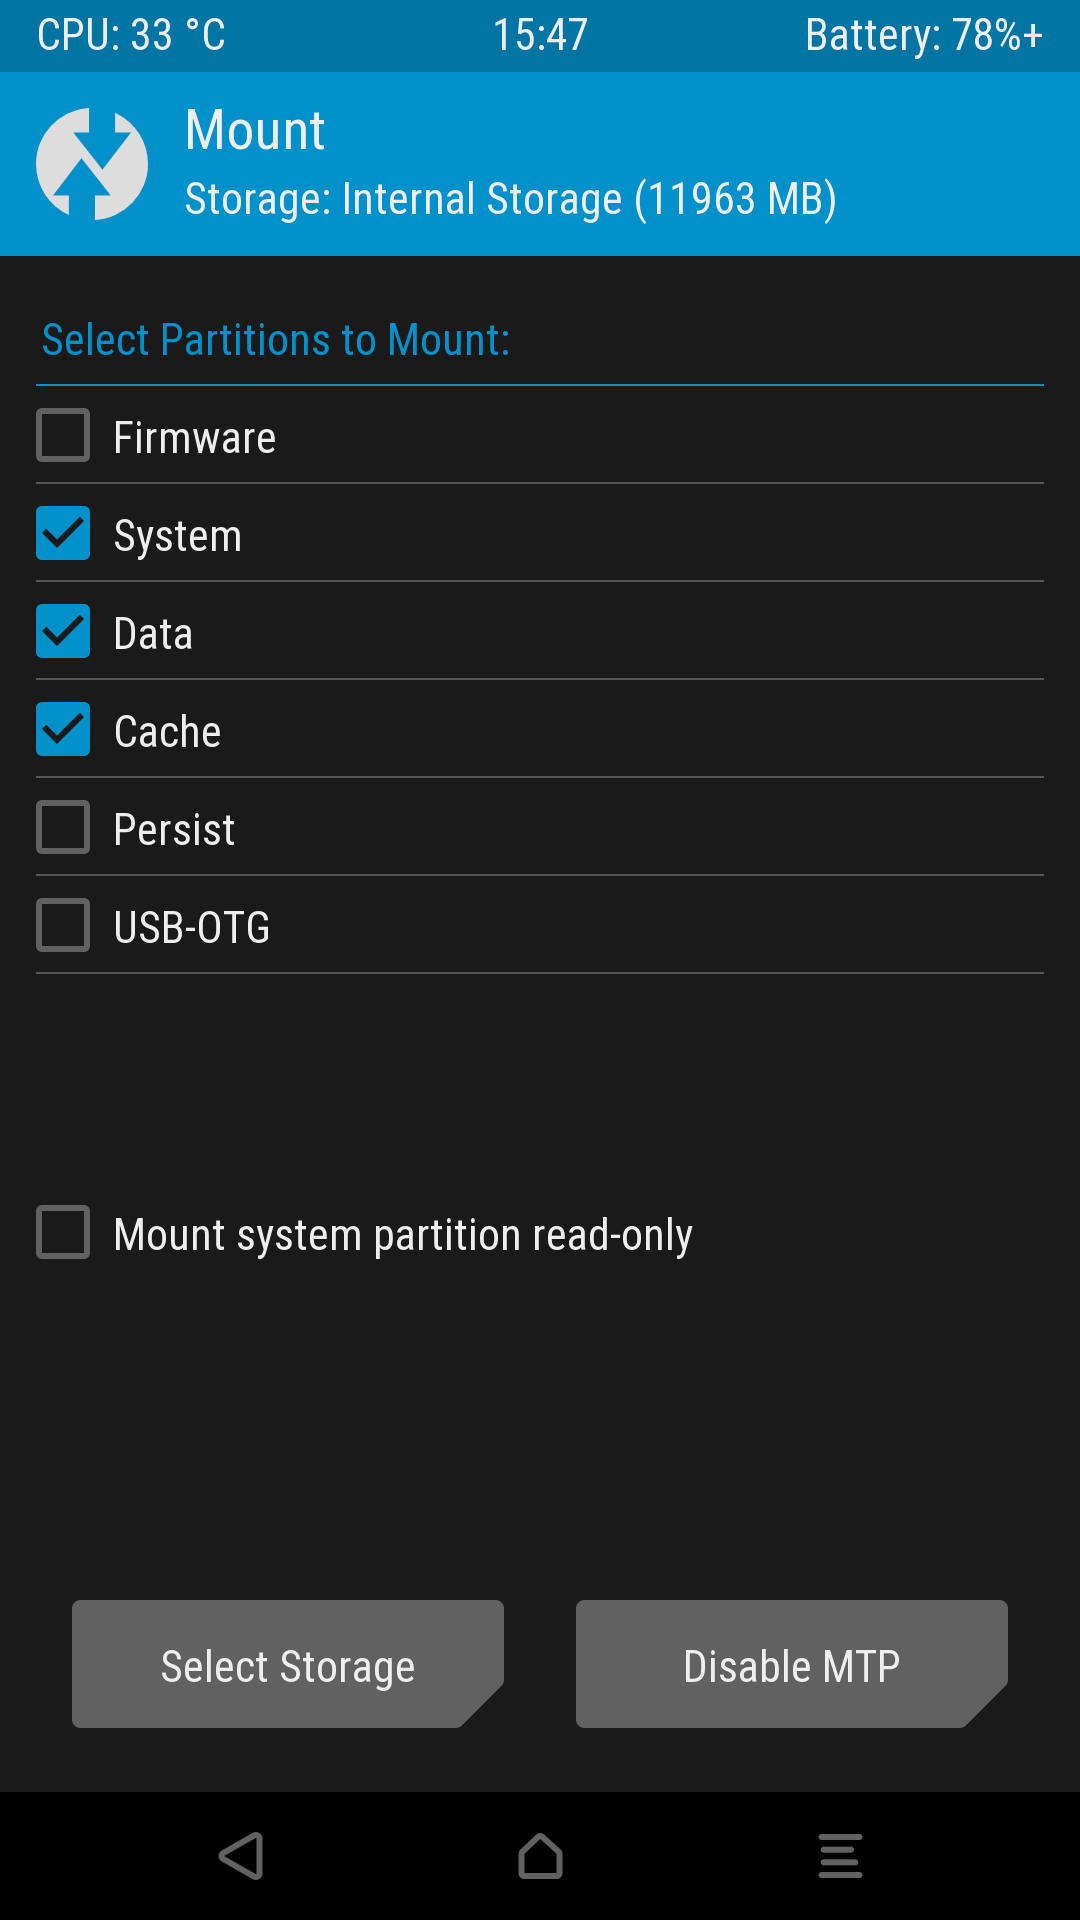
Mounting system partition with TWRP
Once your system partition is mounted AND writeable, type the following:
> adb push /path/to/tingle/output/Manual/framework.jar /system/framework/framework.jar

framework.jar: 1 file pushed. 4.3 MB/s (6494621 bytes in 1.438s)
If this step does not work, double check that your system partition is mounted and try again. Alternatively you can try pushing to /mnt/sdcard, then in the device using a root file explorer, copy the framework.jar file into /system/framework/ and overwrite the existing file.
Reboot phone… If it stays on a black screen for more than 10 mins, your framework.jar is probably the wrong one. Remember that if anything goes wrong, tingle made a backup of your original framework.jar in the output\Manual folder (framework.jar.backup).
Go into MicroG self-check menu. It should now say that the device has signature spoofing enabled! That’s all MicroG needs to work as expected.
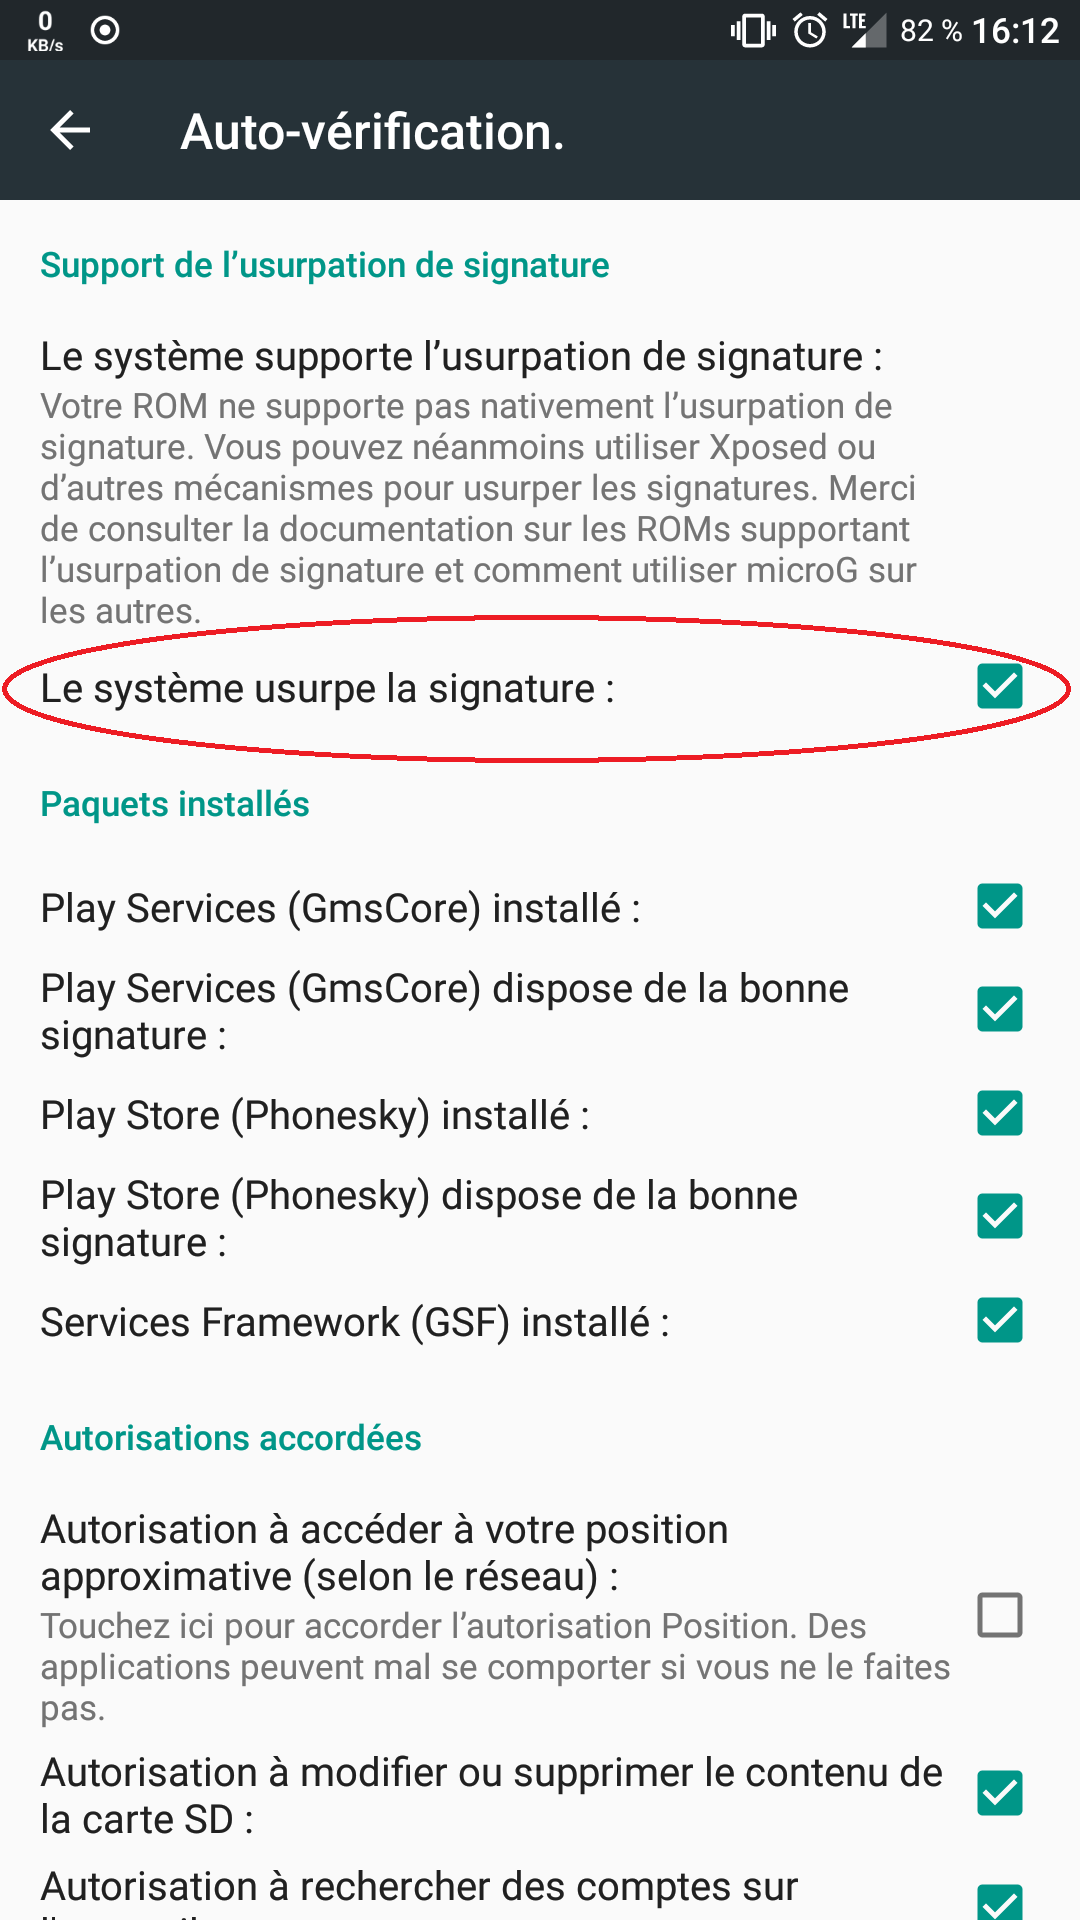
MicroG with signature spoofing enabled
(optional) Reinstall the Play Store
If you don’t want to use the Blank Store app and prefer to use the official Play Store app, that’s also possible:
- Uninstall or delete any previous Play Store or Blank Store apk. If you don’t, it will always ask you to set up your account. The Play Store APK is usually named com.android.vending.apk or Phonesky.apk, and is usually found in /system/priv-app.
- Delete any Google account on the device (Settings > Accounts > tap your Google account > tap your account again > […] > Delete account)
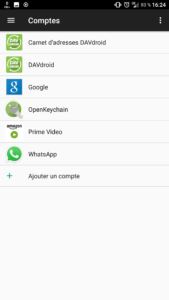
This is the screen where you will find your Google account
- Download the latest Play Store apk for your device (read the notes if necessary!)
- Copy it in your device and rename it to Phonesky.apk. Do not name it com.android.vending like you can see in some tutorials, it will cause some force closes because it cannot find libmicronet (currently libcronet.63.0.3223.7.so).
- Place it in /system/priv-app/Phonesky (make sure your system partition is writable, create folder if necessary, check that folder permissions are 0755 with owner=root). If you do not place the APK in this very folder, it will also cause force closes because it cannot find libmicronet. So the APK full path should be: /system/priv-app/Phonesky/Phonesky.apk
- Make sure the apk has the following minimum permissions: 644. By default it has 660 permissions on my phone, and so it does not install itself after rebooting unless I set it to 644. Most file managers let you set the file unix permissions. For example in Fx Explorer, go to System (root), you long touch a file and choose Details. Then you can set the permissions. Or if you prefer to use adb, that’s also possible. This is how to check the current permissions:
> adb shell
$ ls -al /system/priv-app/Phonesky/Phonesky.apk
-rw-r--r-- 1 root root 16919467 2017-08-08 14:58 /system/priv-app/Phonesky/Phonesky.apk
And if anything is different from “-rw-r–r– 1 root root” type the following command:
$ exit
> adb reboot recovery
Wait until recovery is loaded, then mount the system partition with read/write permission like described previously in TWRP. Then type the following:
> adb shell
~ # ls -al /system/priv-app/Phonesky/Phonesky.apk
-rw-rw---- 1 root root 16919467 Aug 8 12:58 /system/priv-app/Phonesky/Phonesky.apk (Wrong 660 permissions)
~ # chmod 644 /system/priv-app/Phonesky/Phonesky.apk
~ # ls -al /system/priv-app/Phonesky/Phonesky.apk
-rw-r--r-- 1 root root 16919467 Aug 8 12:58 /system/priv-app/Phonesky/Phonesky.apk (Correct 644 permissions)
~ # exit
> adb reboot
- Reboot
- Run the Play Store app and setup your account again (if necessary)
- That’s all, it should work!

SafetyNet
Passing SafetyNet is not an easy thing to do. In order pass the test on my OnePlus One, I had to do, in the following order:
- Uninstall any root-enabling software (SuperSu, Magisk…)
- Remove the FakeGApps app by thermatk (an Xposed module I forgot to uninstall)
- Delete the Google account from the phone
- Delete any Google Play apk (official, blank store…)
- Reboot to recovery
- Flash the unSU zip
- Flash the MicroG migration zip that will update the keys to MicroG LineageOS builds (do not flash if you flashed it previously)
- Flash the latest LineageOS build by MicroG
- Flash the latest Franco kernel for the OnePlus One (that is probably optional)
- Flash the latest Magisk zip
- Reboot system
- Mount /system partition Read/Write
- Remove /system/priv-app/FakeStore folder
- Download the latest DroidGuard helper,
- Rename it to GmsDroidGuard.apk
- Create the folder /system/priv-app/GmsDroidGuard
- Place the APK into /system/priv-app/GmsDroidGuard/
- Download the latest Google Play apk
- Rename it to Phonesky.apk
- Place it in /system/priv-app/Phonesky/
- Ensure folder permissions are root 0755 and APK permissions are root 0644 (see previous section)
- Reboot system
- Give MicroG all permissions in the app details (long press on MicroG settings icon, application informations, permissions)
- Give Google Play all permissions in the app details (same way as microG)
- Set-up MicroG
- Register the device for Google
- Enable Google Cloud Messaging
- Enable SafetyNet
- Optionally enable UnifiedNlp plugins
- Install latest Magisk Manager
- Open Magisk Manager
- In “Magisk Hide” menu entry, look for any app that check for SafetyNet and tick them. For example I ticked Google Play and all MicroG related apps.
- Open Google Play and set up your account. Be sure you can open and install any app.
- Enable Developer options in your phone settings if not done already
- Disable Android Debugging (Android Debug Bridge interface)
- Cancel any autorisation for USB debugging
- Open Magisk Manager and run the SafetyNet check. For me it passed 🙂
- The important bit for me was to manually place the GmsDroidGuard.apk file in /system/priv-app/GmsDroidGuard/. Installing it using F-Droid did not work.

Oops the comment section was disabled for this article… You guys can now comment if you like 🙂
Unfortunatly, since few month, it’s not working anymor
I updated the guide. Could you try again?
Thank You Gabriel Hautclocq,
it Works for me on GT-9300 with Lineageos 14.1-20170517.NIGHTLY-i9300
I’m glad it helped!
Just an FYI, at least in my testing, it appears to need a copy of “/system/build.prop” in the input folder as well before running (running main.py fails with an error about that for me otherwise). Great write-up though, really helped me get through this install!
Weird, I do not need such a build.prop file for LineageOS 14.1 on OnePlus One (bacon). Must depend on the phone probably!
Maybe then, it was with my Nexus 5, it would just keep giving me the error otherwise (only tried on 2 different ROMs now, so by no means an expert). But anyway, this was a huge help for me, so thank you!
The latest version of Tingle need build.prop to correctly determine the Android version because without it there could be problems during assembling/disassembling (it could create incompatible code).
The latest version of Tingle need build.prop to correctly determinate the Android version because without it the assembling/disassembling phase could create incompatible code.
Thanks, I updated the guide 🙂
I updated my tingle and it also requested the build.prop file this time. I updated the guide to include this step.
Is there any chance to pass safetynet checks on x86 builds? OS version does not matter.. Thanks for great writing!