

Introduction
It’s been 6 years since the last OpenBSD installation tutorial so I felt it was time to update it for the newest OpenBSD (6.1)!
There’s probably plenty of tutorials around there explaining how to install OpenBSD, but I wrote that one in addition to my previous tutorial, “Installing Gnome Desktop and Gnome Display Manager on OpenBSD”. I will try to tell in detail every action I did to install OpenBSD.
For this tutorial, I will use a VirtualBox virtual machine and will install the AMD64 release of OpenBSD 6.1.
Any keyboard non alphanumeric key will be represented between braces. For example, “{Enter}” means “press the Enter key once”.
Prerequisites
You will need the following :
- About 2 GB of free space to install it (could be much more or less depending on what you plan to do with it once installed)
- An ISO image of the system. Get it here : https://ftp.openbsd.org/pub/OpenBSD/6.1/ then navigate to the location of the image adapted to your system. I personally used this image : https://ftp.openbsd.org/pub/OpenBSD/6.1/amd64/install61.iso. Burn this image to a CD or use it directly in your favorite virtual machine manager.
- An Internet connection (optional)
- About 15 minutes to install the system
Installation
Boot your computer with the CD image inserted. You may need to adjust your BIOS parameters in order to boot from the CD first.
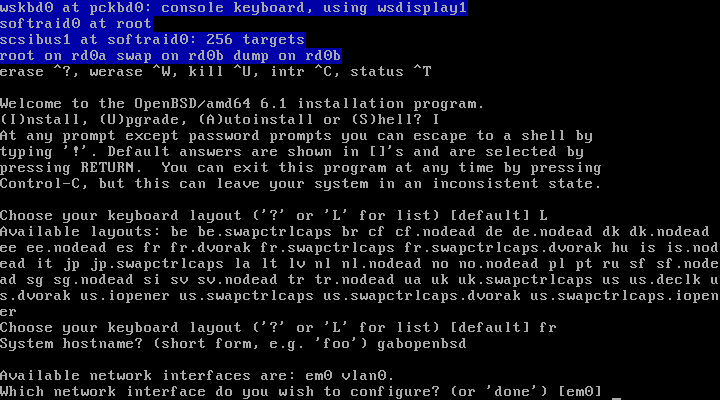
You will see this welcome screen inviting you to install the system. Compared to previous 4.8 release, there’s a new Autoinstall choice. I’m going to stick with Install:
Welcome to the OpenBSD/amd64 6.1 installation program.
(I)nstall, (U)pgrade, (A)utoinstall or (S)hell?
I{Enter}
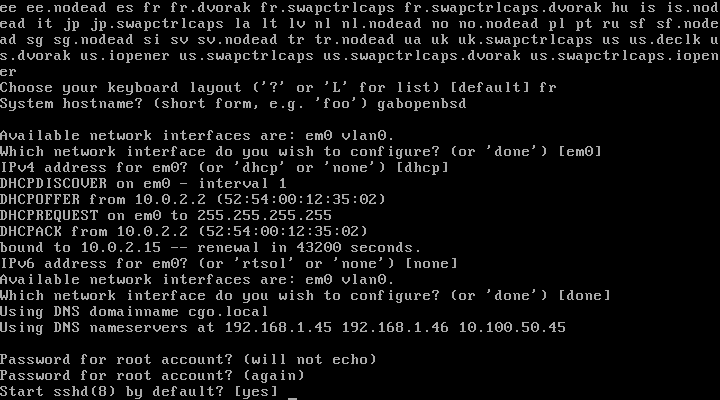
Next, you will be prompted to choose your keyboard layout. My computer having a French keyboard, I had to choose it explicitly.
Choose your keyboard Layout ('?' or 'L' for list) [default]
L{Enter}
fr{Enter}
Next, you can enter your machine name.
System hostname? (short form, e.g. 'foo')
gabopenbsd{Enter}
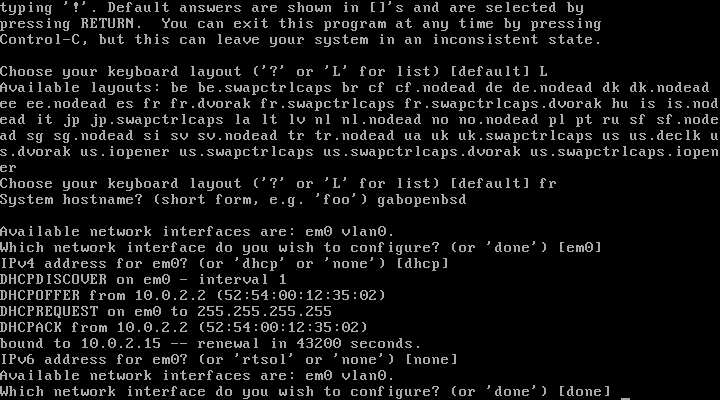
Here comes your network configuration. I’ll let my router do the job with its internal DHCP server.
Available network interfaces are: em0 vlan0.
Which network interface do you wish to configure? (or 'done') [em0]
{Enter}
IP adress v4 for em0? (or 'dhcp' or 'none') [dhcp]
{Enter}
IPv6 address for em0? (or 'rtsol' or 'none') [none]
{Enter}
IPv6 prefix length for em0? [64]
{Enter}
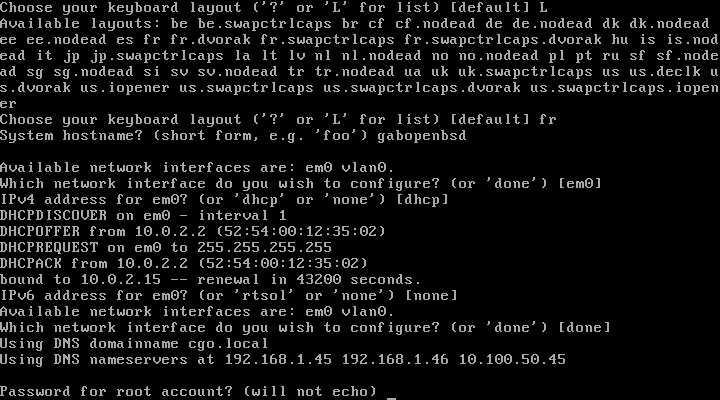
Available network interfaces are: em0 vlan0
Which network interface do you wish to configure? (or 'done') [done]
{Enter}
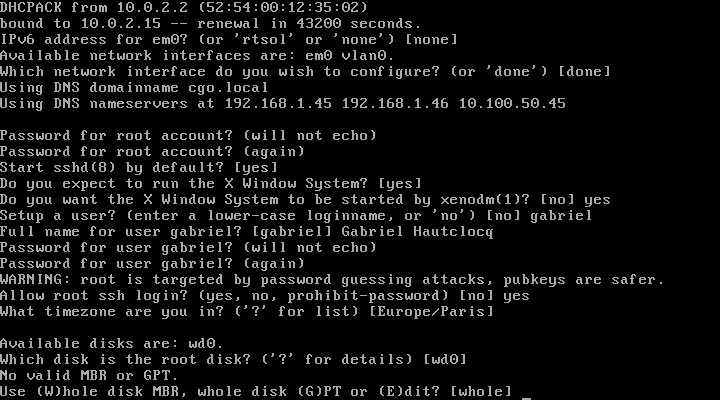
The next step is important : choosing your root password. Choose a strong password that you can remember.
Password for root account? (will not echo)
(rootpassword){Enter}

Password for root account? (again)
(rootpassword){Enter}
You can accept the defaults for the next question.
Start sshd(8) by default? [yes]
{Enter}
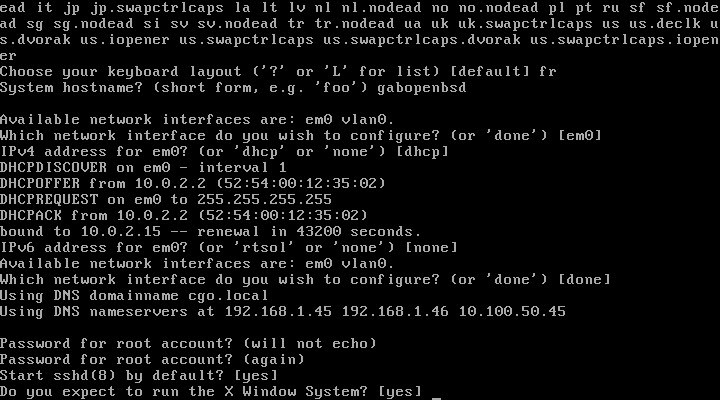
If you plan to use a graphical environment, I advise you to choose “yes” for the following question. Choose “no” otherwise.
Do you expect to run the X Window System? [yes]
{Enter}
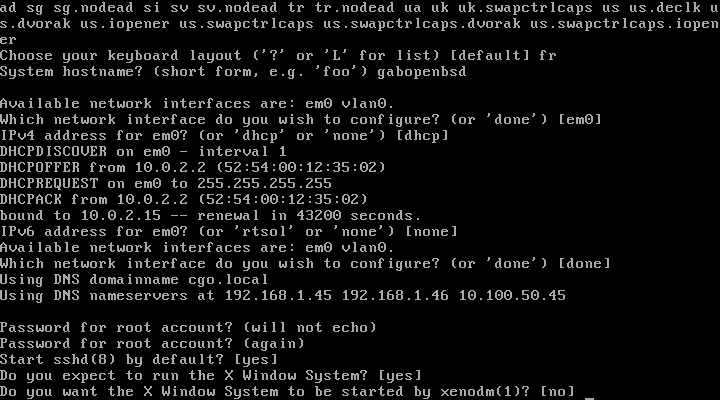
Type “yes” if you want the X Window System to start when xdm is launched, “no” otherwise”. I personally choose “yes”.
Do you want the X Window System to be started by xenodm(1)? [no]
yes{Enter}
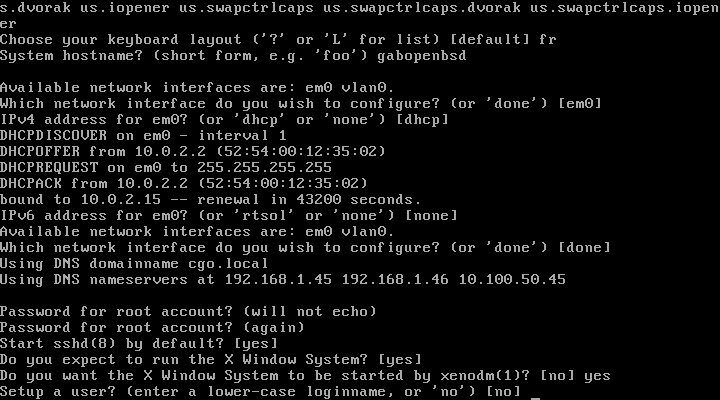
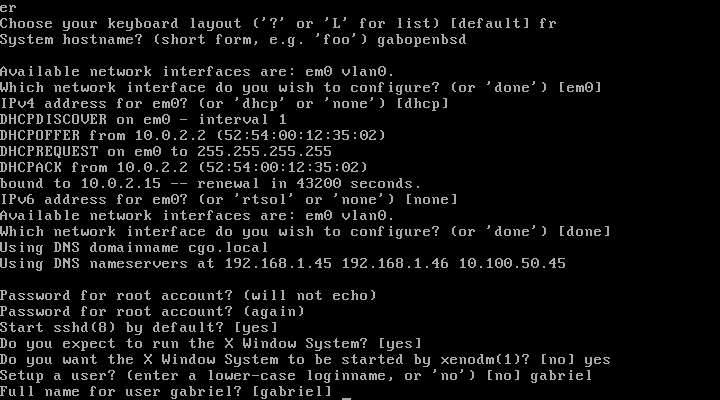
You can add a user to your system here. Just type the desired user-name if you wish to add a user now.
Setup a user? (Enter a lower-case loginname, or 'no') [no]
gabriel{Enter}
Full name for user gabriel? [gabriel]
Gabriel Hautclocq
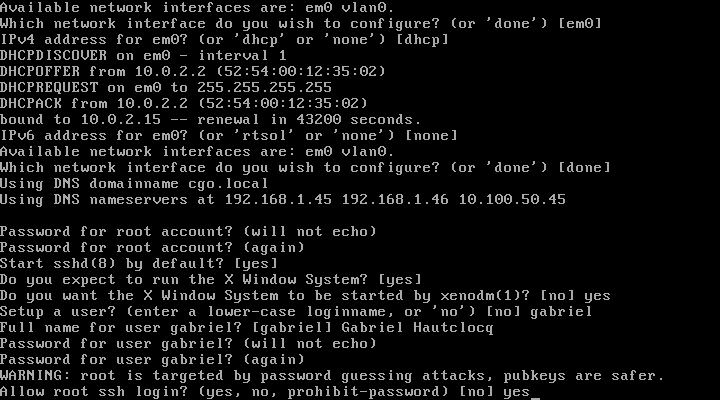
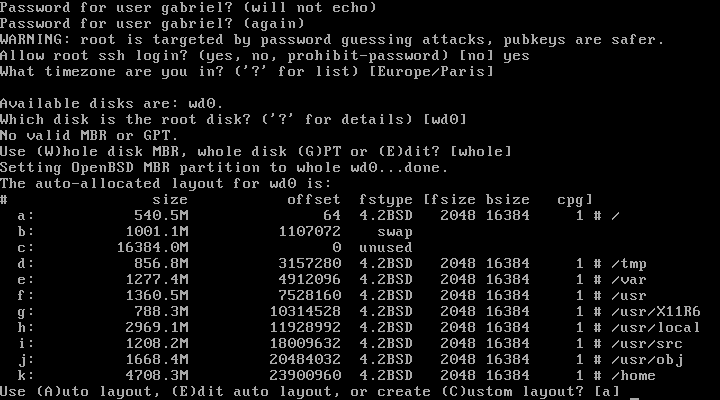
Password for user gabriel? (will not echo)
(user password){Enter}
Password for user gabriel? (again)
(user password){Enter}
WARNING: root is targeted by password guessing attacks, pubkeys are safer.
Allow root ssh login? (yes, no, prohibit-password) [no]
{Enter}
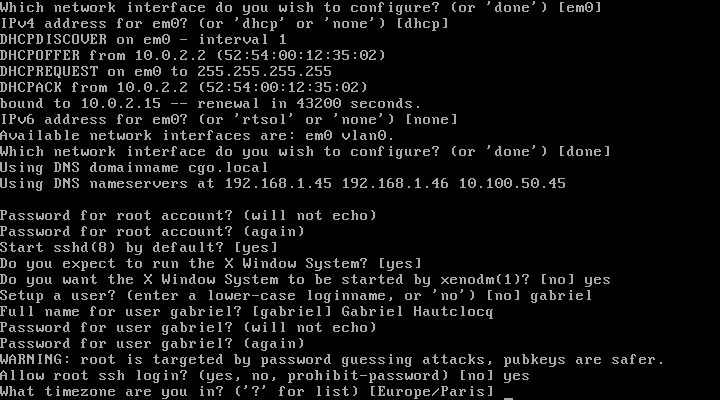
You can now define your time zone. If you are connected to the Internet, the default should be good.
What timezone are you in? ('?' for list) [Europe/Paris]
{Enter}
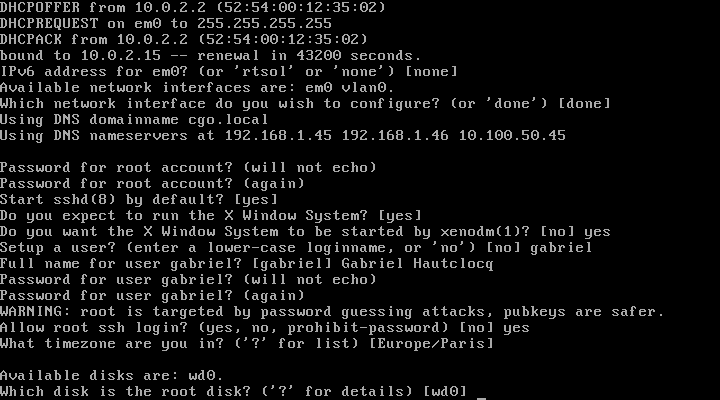
An important part of the installation process: setting up your hard drive. You can choose here which hard drive you wish to install OpenBSD. As I install in a virtual machine, I only have one hard drive called “wd0”.
Available disks are: wd0
Which disk is the root disk? ('?' for details) [wd0]
{Enter}
Here is your chance to edit the MBR. If you don’t know what that means or you don’t need to, just accept the default.
No valid MBR or GPT.
Use (W)hole disk MBR, whole disk (G)PT or (E)dit? [whole]
{Enter}
You can let OpenBSD to define partitions automatically, or edit the automatically generated layout, or define a custom layout. If the automatic layout seems to fit your needs, just press Enter. Otherwise, typing “e” will let you resize the partitions.

The automatic layout generated by OpenBSD for a 16 GB hard drive
If you accept the auto layout :
Use (A)uto layout, (E)dit auto layout, or create (C)ustom layout? [a]
{Enter}
Then go to next section.
Or if you want to resize the partitions (recommended if you want to install Gnome for example) :
Use (A)uto layout, (E)dit auto layout, or create (C)ustom layout? [a]
e{Enter}
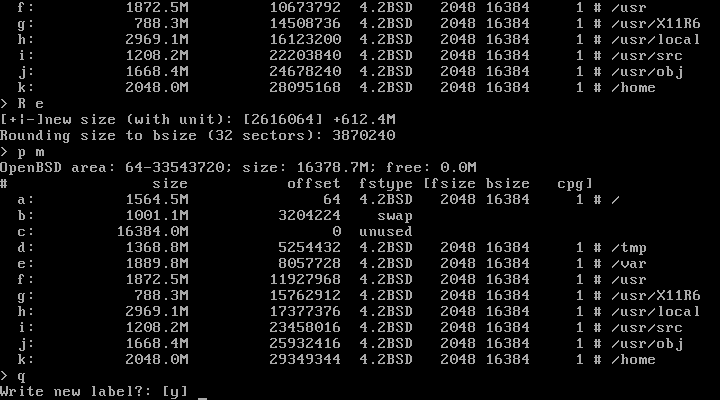
Although it looks a little stark, it is actually easy to resize your partitions. Some useful commands:
Display the partition list with their size in MB:
> p m{Enter}
You can see that each partition has its own letter.
Resize a partition:
> R letter{Enter}
[+|-]new size (with unit): size_in_megabyesM{Enter}
Accept changes and quit:
> q{enter}
Cancel changes and quit:
> x{Enter}
For example, my /home partition was too big, and some other partitions were too small to install Gnome and GDM. So I resized them :
> p m{Enter}

> R k{Enter}
[+|-]new size (with unit): 2048M{Enter}
> R a{Enter}
[+|-]new size (with unit): +1024.0M{Enter}
> R d{Enter}
[+|-]new size (with unit): +512.0M{Enter}
> R e{Enter}
[+|-]new size (with unit): +612.4M{Enter}
> R f{Enter}
[+|-]new size (with unit): +512.0M{Enter}
> q{Enter}
Write new label?: [y]
{Enter}
You can see the result in the image below:

Partitions layout after correction
(next section starts here)
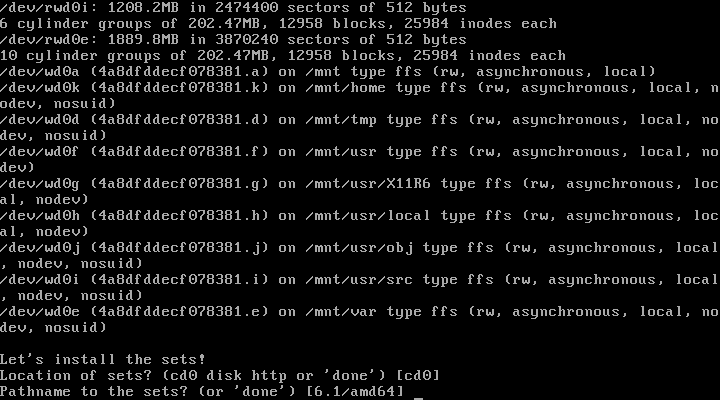
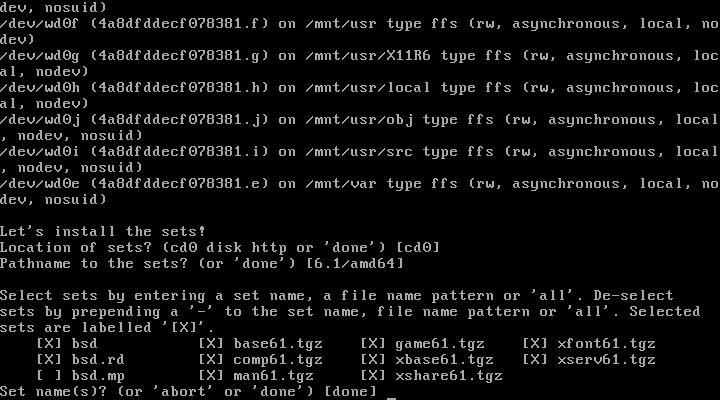
You will now choose which package sets you will install. I will only add the “bsd.mp” package as my machine has more than one processor.
Lets install the sets!
Location of sets? (cd0 disk http or 'done') [cd0]
{Enter}
Pathname of the sets? (or 'done') [6.1/amd64]
{Enter}
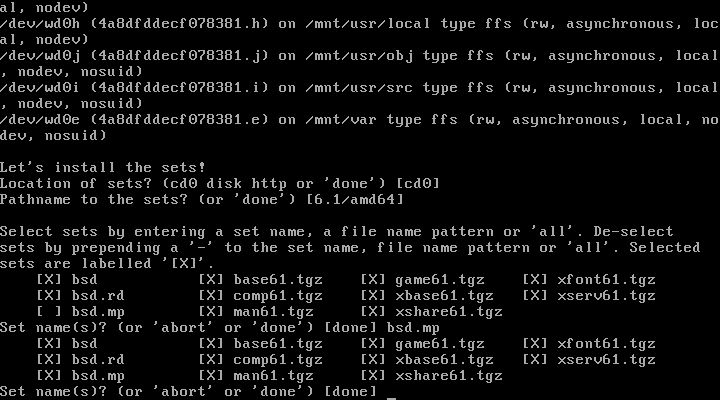
Set name(s)? (or 'abort' or 'done') [done]
bsd.mp{Enter}
Set name(s)? (or 'abort' or 'done') [done]
{Enter}
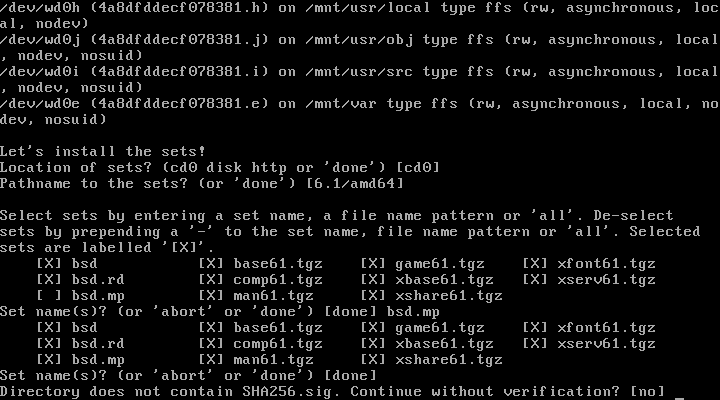
Directory does not contain SHA256.sig. Continue without verification? [no]
yes{Enter}
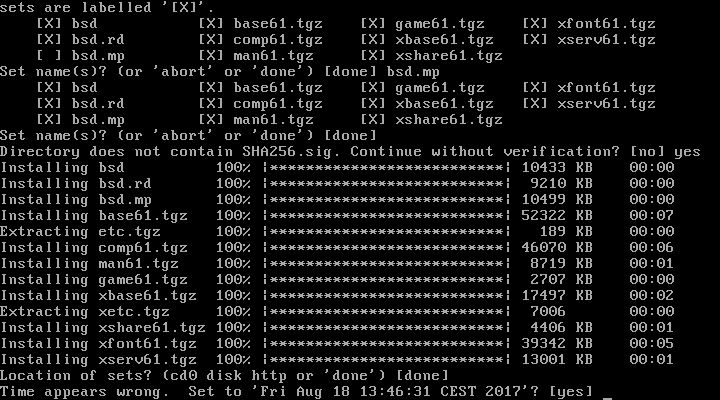
(installation of sets, can take a while)
Just accept the default when the installer asks for the same question.
Location of sets? (cd0 disk http or 'done') [done]
{Enter}
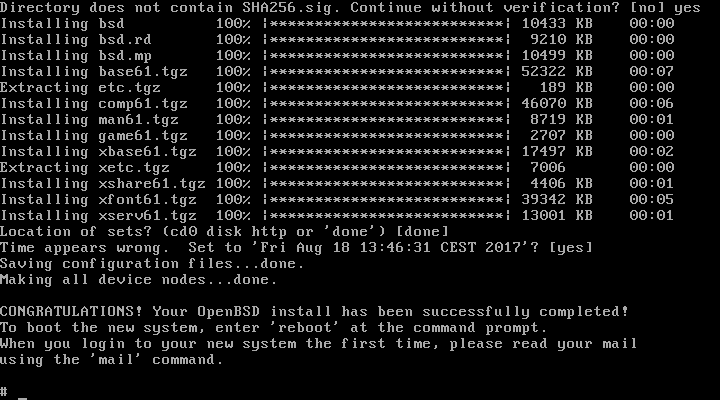
OpenBSD then copy its files.
Set the correct date by accepting the default.
Time appears wrong. Set to (date of day)? [yes]
{Enter}
Well, believe it or not, but you just installed OpenBSD on your machine!
CONGRATULATIONS! Your OpenBSD install has been successfully completed!

To boot the new system, enter 'reboot' at the command prompt.

When you login to your new system the first time, please read your mail

using the 'mail' command.
Eject the installation media. Now you should reboot:
reboot
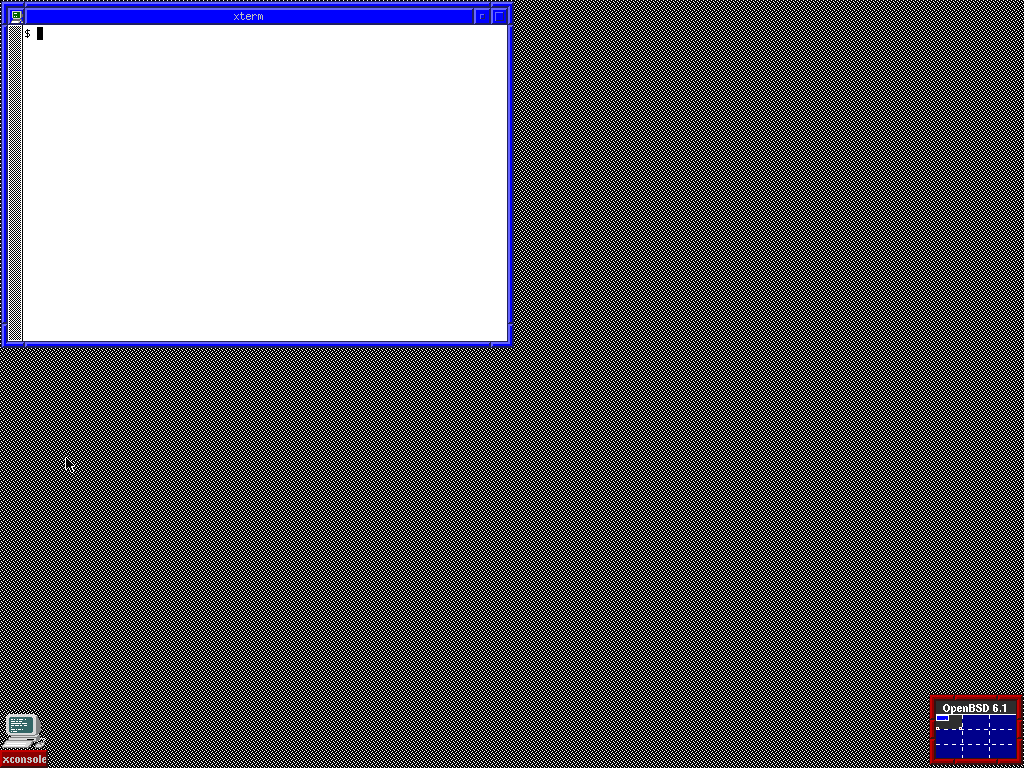
OpenBSD is now starting and the FVWM window manager should be launched if you chose to start the X Window System automatically.
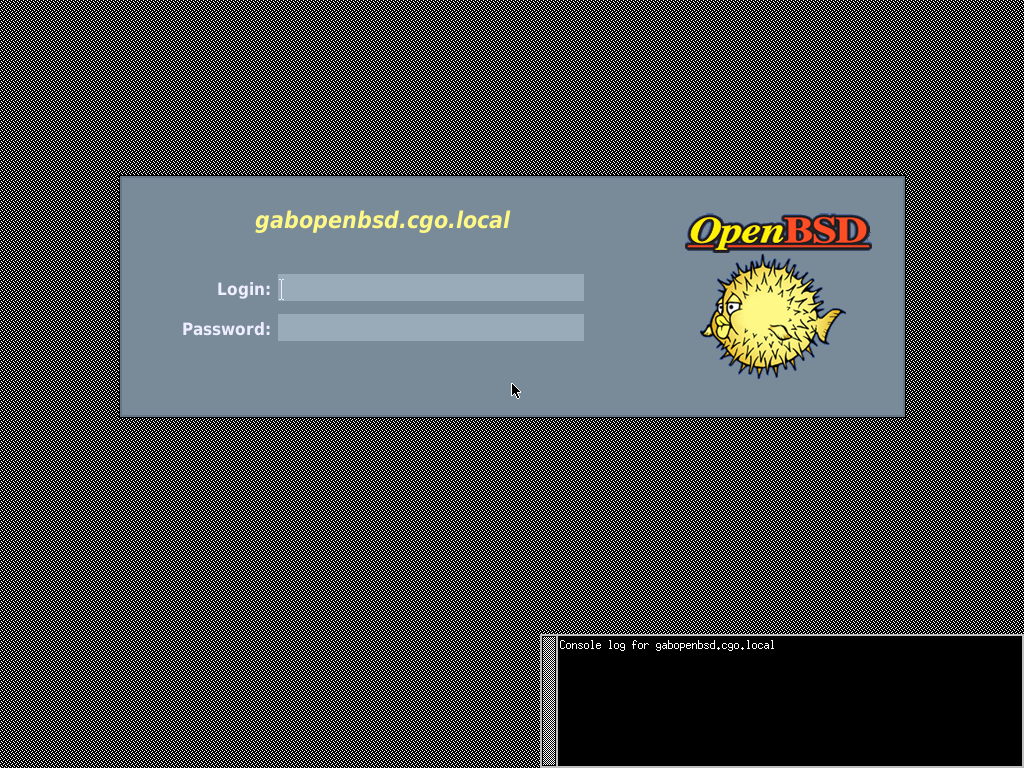
OpenBSD login screen

FVWM, the OpenBSD’s window manager
Congratulations !
If you don’t like the default window manager, you can install Gnome or KDE for example. If you want to install Gnome, just go to read our tutorial.
If you cannot login with your user (“Login incorrect or forbidden”), something probably went wrong while defining your password. Especially if you used the numeric keypad. You should still be able to login with your root account and change the user password using the “passwd” command.
You will find below all the screenshots of the installation, step by step.
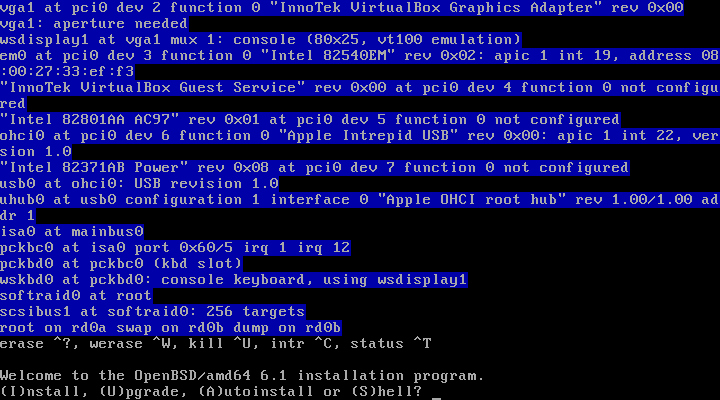
Choosing type of installation
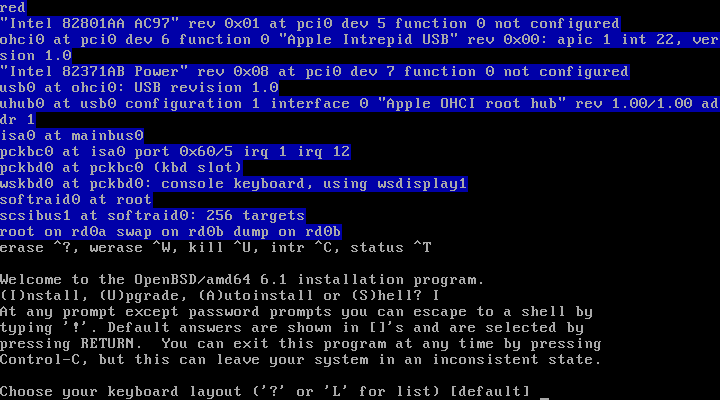
Choosing keyboard layout
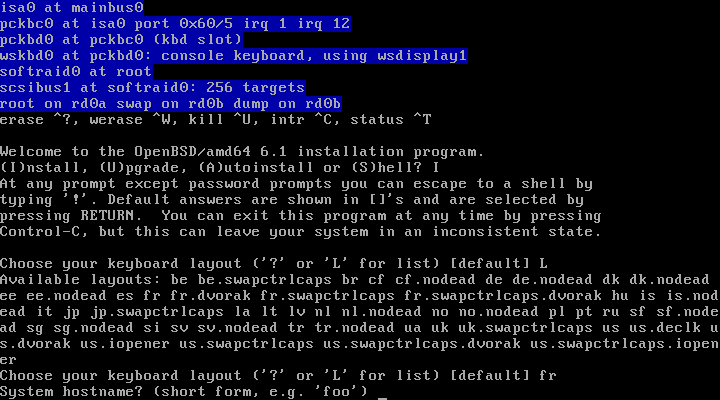
Defining system hostname
Choosing a network interface to configure
IP address setting

IPv6 address setting
End of network configuration
Defining root password
Setting sshd to start by default
Setting wether or not to use the X window system
Running the X window system on startup
Wether we should define a user
User creation
Setting if root ssh login are allowed
Defining the Timezone
Choosing the root disk
Choosing how to use the disk
Choosing the kind of partitioning
After partition size modifications

Defining the installable sets location
Location of the sets
Choosing which sets to install
End of sets choice
Confiirmation before sets installation
Setting local time
End of installation

OpenBSD login screen
OpenBSD default window system (FWWM)

Just one question – if you love openBSD so much – why do you install it in virtual machine, not real hardware? 😉
Because I could not make screenshots otherwise! 🙂
Well done, just what I was looking for. Thanks.
On an ASUS E200HA, ifconfig -a only shows the loopback device, nothing else … What now?
Hi henry, I do not know what happened but it seems like your network interfaces were not detected. Maybe try the OpenBSD Networking FAQ: https://www.openbsd.org/faq/faq6.html ? Hope this helps.
Ha wow! Just installed my first Openbsd. I remembered me installing my first Linux, like 23 years ago. Loved that!